The Art of Restoring Seattle Photos – Keeping Memories Alive
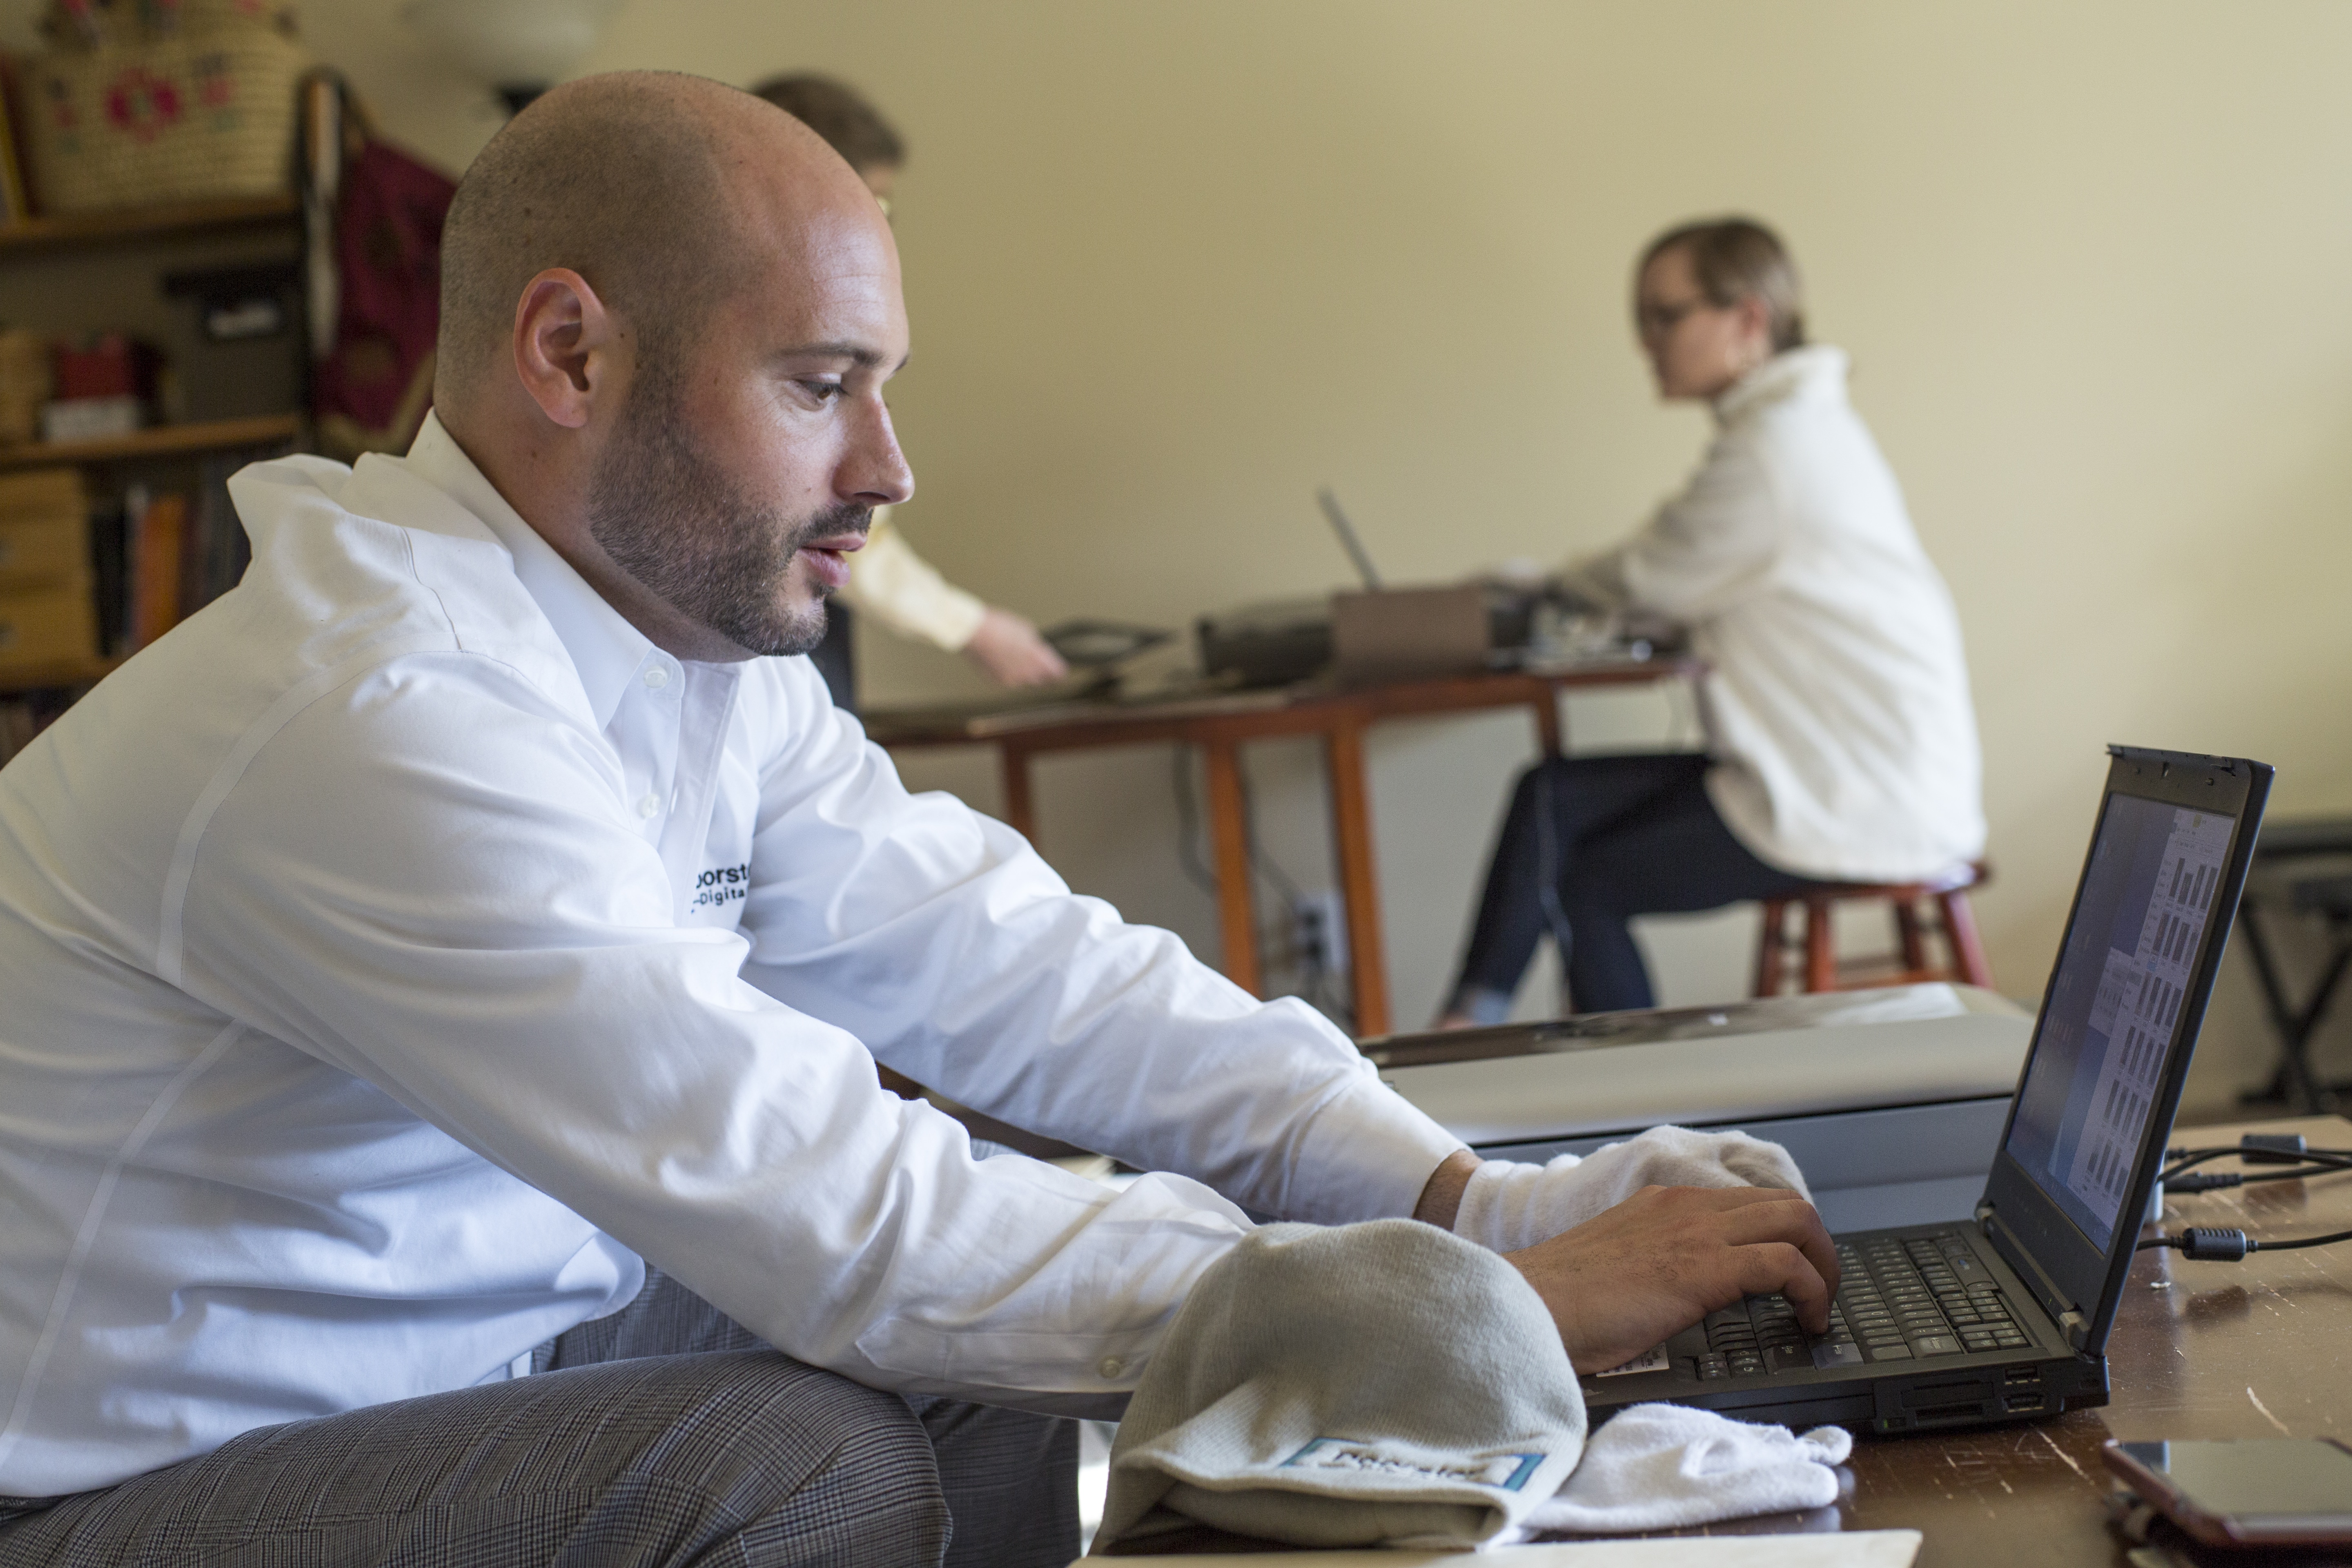
Seattle Photo Scanning – Doorstep Digital
One of the biggest benefits of digitizing your photographs, is the opportunity to restore the damaged and worn ones in your collection. Photographs can become damaged for a number of reasons; UV exposure, stains, tears and yellowing of acidic paper just to name a few.
Opening a box of my own family’s photos was eye opening. A lot of them were not properly stored and became victims of water damage and fading. In order to preserve my family’s history, I embarked on a task of digitizing and restoring the photos for our future family generations.
It may seems distressing at first to come across damaged photographs, but there are solutions! Once you digitally archive your images with a high quality scanner, bringing the photos into an editing software program can fix minor wear and tear. Our experienced photographers at Doorstep Digital can help you with this process by offering our array of in-home digitizing services.
More advanced programs, such as Photoshop, do require an advanced knowledge of retouching. Photoshop is great in that it offers an assortment of tools to fix photographic blemishes.
The following four basic steps will help you build a photo restoring foundation when editing your own photographs within Photoshop!
- Global Corrections: This just means you are editing the entire picture and not just localized areas (i.e. tears, spots, dust). Try to fix the image’s tone/ color first and foremost. This can be achieved with the Color Balance tool. If you see the need to crop, do it in this step as well so you are not editing something you will end up cropping. This little trick will save your precious time in the end.
- Adding Contrast: Many old photos are faded due to print quality and/ or UV exposure. To fix this, simply add contrast with the Curves tool. By creating an ‘S’ shaped curve in the graph, you can visually improve your photo exponentially!
- Localized Corrections: This step is to tackle the smaller imperfections. Be sure to zoom in to see the details you want to correct properly. I normally zoom in at %100 and use the Hand tool to scroll across the entirety of the image. Then from there, you can use a variety of tools to erase unwanted marks. My favorites are the Clone Stamp Tool and the Healing Brush Tool. Both take finesse, but if you make an error, simply hit the Undo button!
- The last step is fairly straightforward; Once done with all of your corrections, SAVE! Be sure to save a copy as a Photoshop document so you can return to the photo at any time to edit and another as a Jpeg if you want to print or share it via the web. If you want to save in a bit higher quality than a .jpeg, save to a .tif file.
While this is just an introduction to the art of restoring, there are many methods and techniques that goes into this art form. Here at Doorstep Digital, we are there to help with this process and to preserve your cherished photo memories!
Recent Comments